

Drywall, Sanding Walls, Joint Compound
Drywall, also known as sheetrock, plasterboard or gypsum board, is a common and versatile material used in constructing interior walls and ceilings. It consists of a gypsum core enclosed by heavy paper sheets, offering affordability and ease of installation.
The fire-resistant nature of drywall, attributed to the water content in gypsum, adds a safety element to buildings. Additionally, drywall provides sound insulation benefits, with options for specialized types like soundproof drywall.
The finishing touches on drywall, such as sanding for a smooth surface, allow for various design outcomes including painting, texturing, or wallpapering, making it a popular choice for residential and commercial projects alike.


Types of Joint Compounds
When it comes to joint compounds for drywall finishing, there are several options to consider. All-Purpose Compound stands out for its versatility, being suitable for all phases of finishing. Taping Compound, on the other hand, is specially formulated for embedding drywall tape with a strong bond.
Topping Compound is perfect for the final coats, known for its ease of sanding and smooth finish. Lastly, Setting Compound, available in powder form, hardens quickly through a chemical reaction. It's ideal for first coats and repairs due to its strength and speed, although it may be a bit more challenging to sand.
Importance of Using the Proper Compound for Drywall Finishing:
Different compounds play crucial roles in achieving a smooth and professional finish. From ease of application to durability and sandability, choosing the right compound ensures a seamless look. Whether it's for time efficiency, better adhesion, or enhancing aesthetic appeal, selecting the appropriate compound for each stage of the process is key to excellent results in drywall finishing.


Importance of Letting Paint Dry
Preventing Paint Lifting and Peeling
If the underlying layer of paint is not fully dry, applying another coat can lift the first layer, leading to peeling and uneven surfaces. This can result in a poor finish and additional work to fix the issues.
Ensuring Proper Adhesion
Each layer of paint needs to adhere properly to the one beneath it. If the paint is still wet or tacky, the new coat may not bond correctly, which can lead to bubbles, blisters, and peeling over time.
Achieving a Smooth Finish
Wet or partially dry paint is more likely to be disturbed during application, causing brush marks, roller lines, and other imperfections. A fully dry surface provides a smooth, stable base for the next coat.
Maintaining Color Consistency
Wet layers can mix with the new coat, potentially altering the color and finish. Allowing each coat to dry completely ensures that the final color is uniform and true to the intended shade.
Preventing Paint Sagging and Running
Wet paint is prone to sagging, running, and dripping. Letting each layer dry fully helps maintain the integrity of the application, ensuring a more even and controlled finish.
Improving Durability and Longevity
Proper drying times between coats contribute to the overall durability of the paint job. Each fully dried layer builds up the protective and aesthetic qualities of the final finish, making it more resistant to wear and environmental factors.
Steps for Preparing for the Final Coat
Surface Cleaning
Dust and Debris: Thoroughly clean the surface to remove any dust, dirt, and debris. Use a damp cloth or a tack cloth to wipe down the walls.
Grease and Grime: For surfaces with grease or grime (like kitchens), use a mild detergent solution or a specialized cleaner. Rinse with clean water and allow it to dry completely.
Inspection and Repair
Inspect for Imperfections: Look for any imperfections such as cracks, holes, or rough patches. Mark these areas for repair.
Filling and Patching: Use a suitable filler or spackle to repair any holes or cracks. Apply the filler, let it dry, and then sand it smooth to level it with the surrounding surface.
Sanding
Light Sanding: Lightly sand the entire surface to ensure it is smooth and free of any previous brush or roller marks. Use fine-grit sandpaper (220-grit is a good choice).
Dust Removal: After sanding, remove all dust using a vacuum with a brush attachment, followed by wiping with a damp cloth or tack cloth.
Priming (if necessary)
Spot Priming: If you’ve made significant repairs or the surface has areas of bare material, spot prime these areas to ensure even absorption of the final coat.
Full Priming: If you are changing the color drastically or painting over a surface prone to stains or bleeding, a full coat of primer might be necessary. Ensure the primer is completely dry before proceeding.
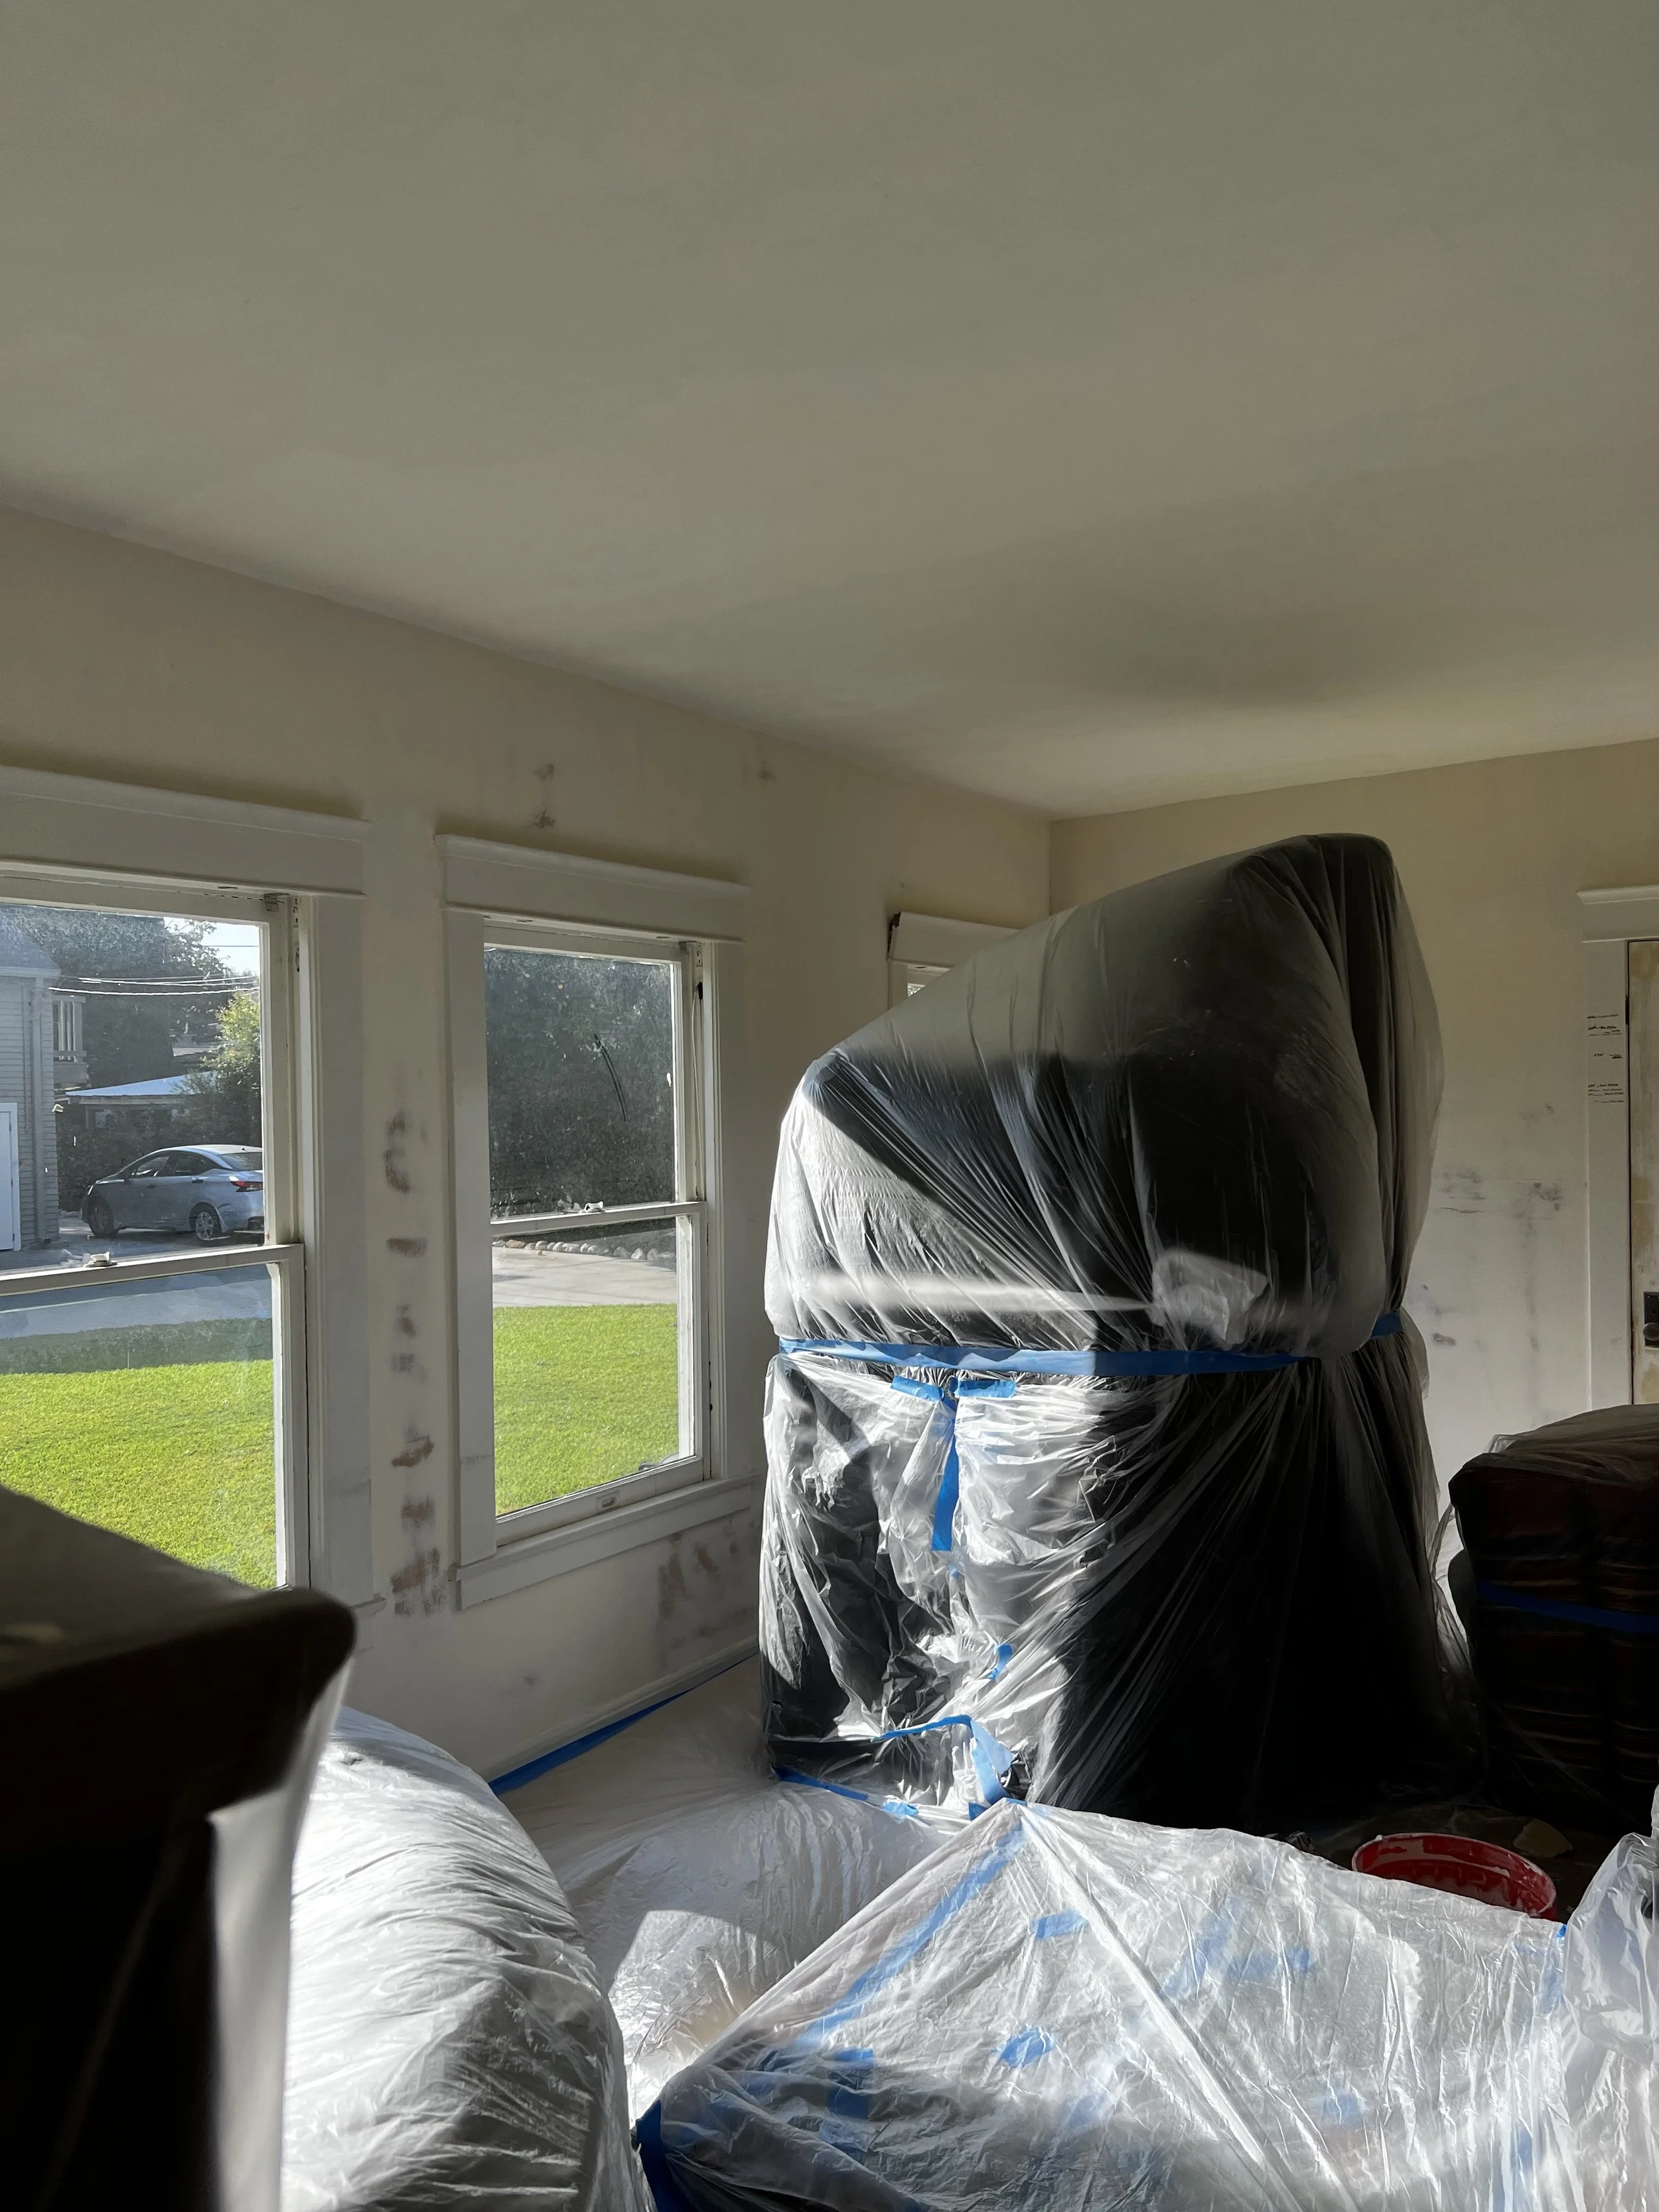
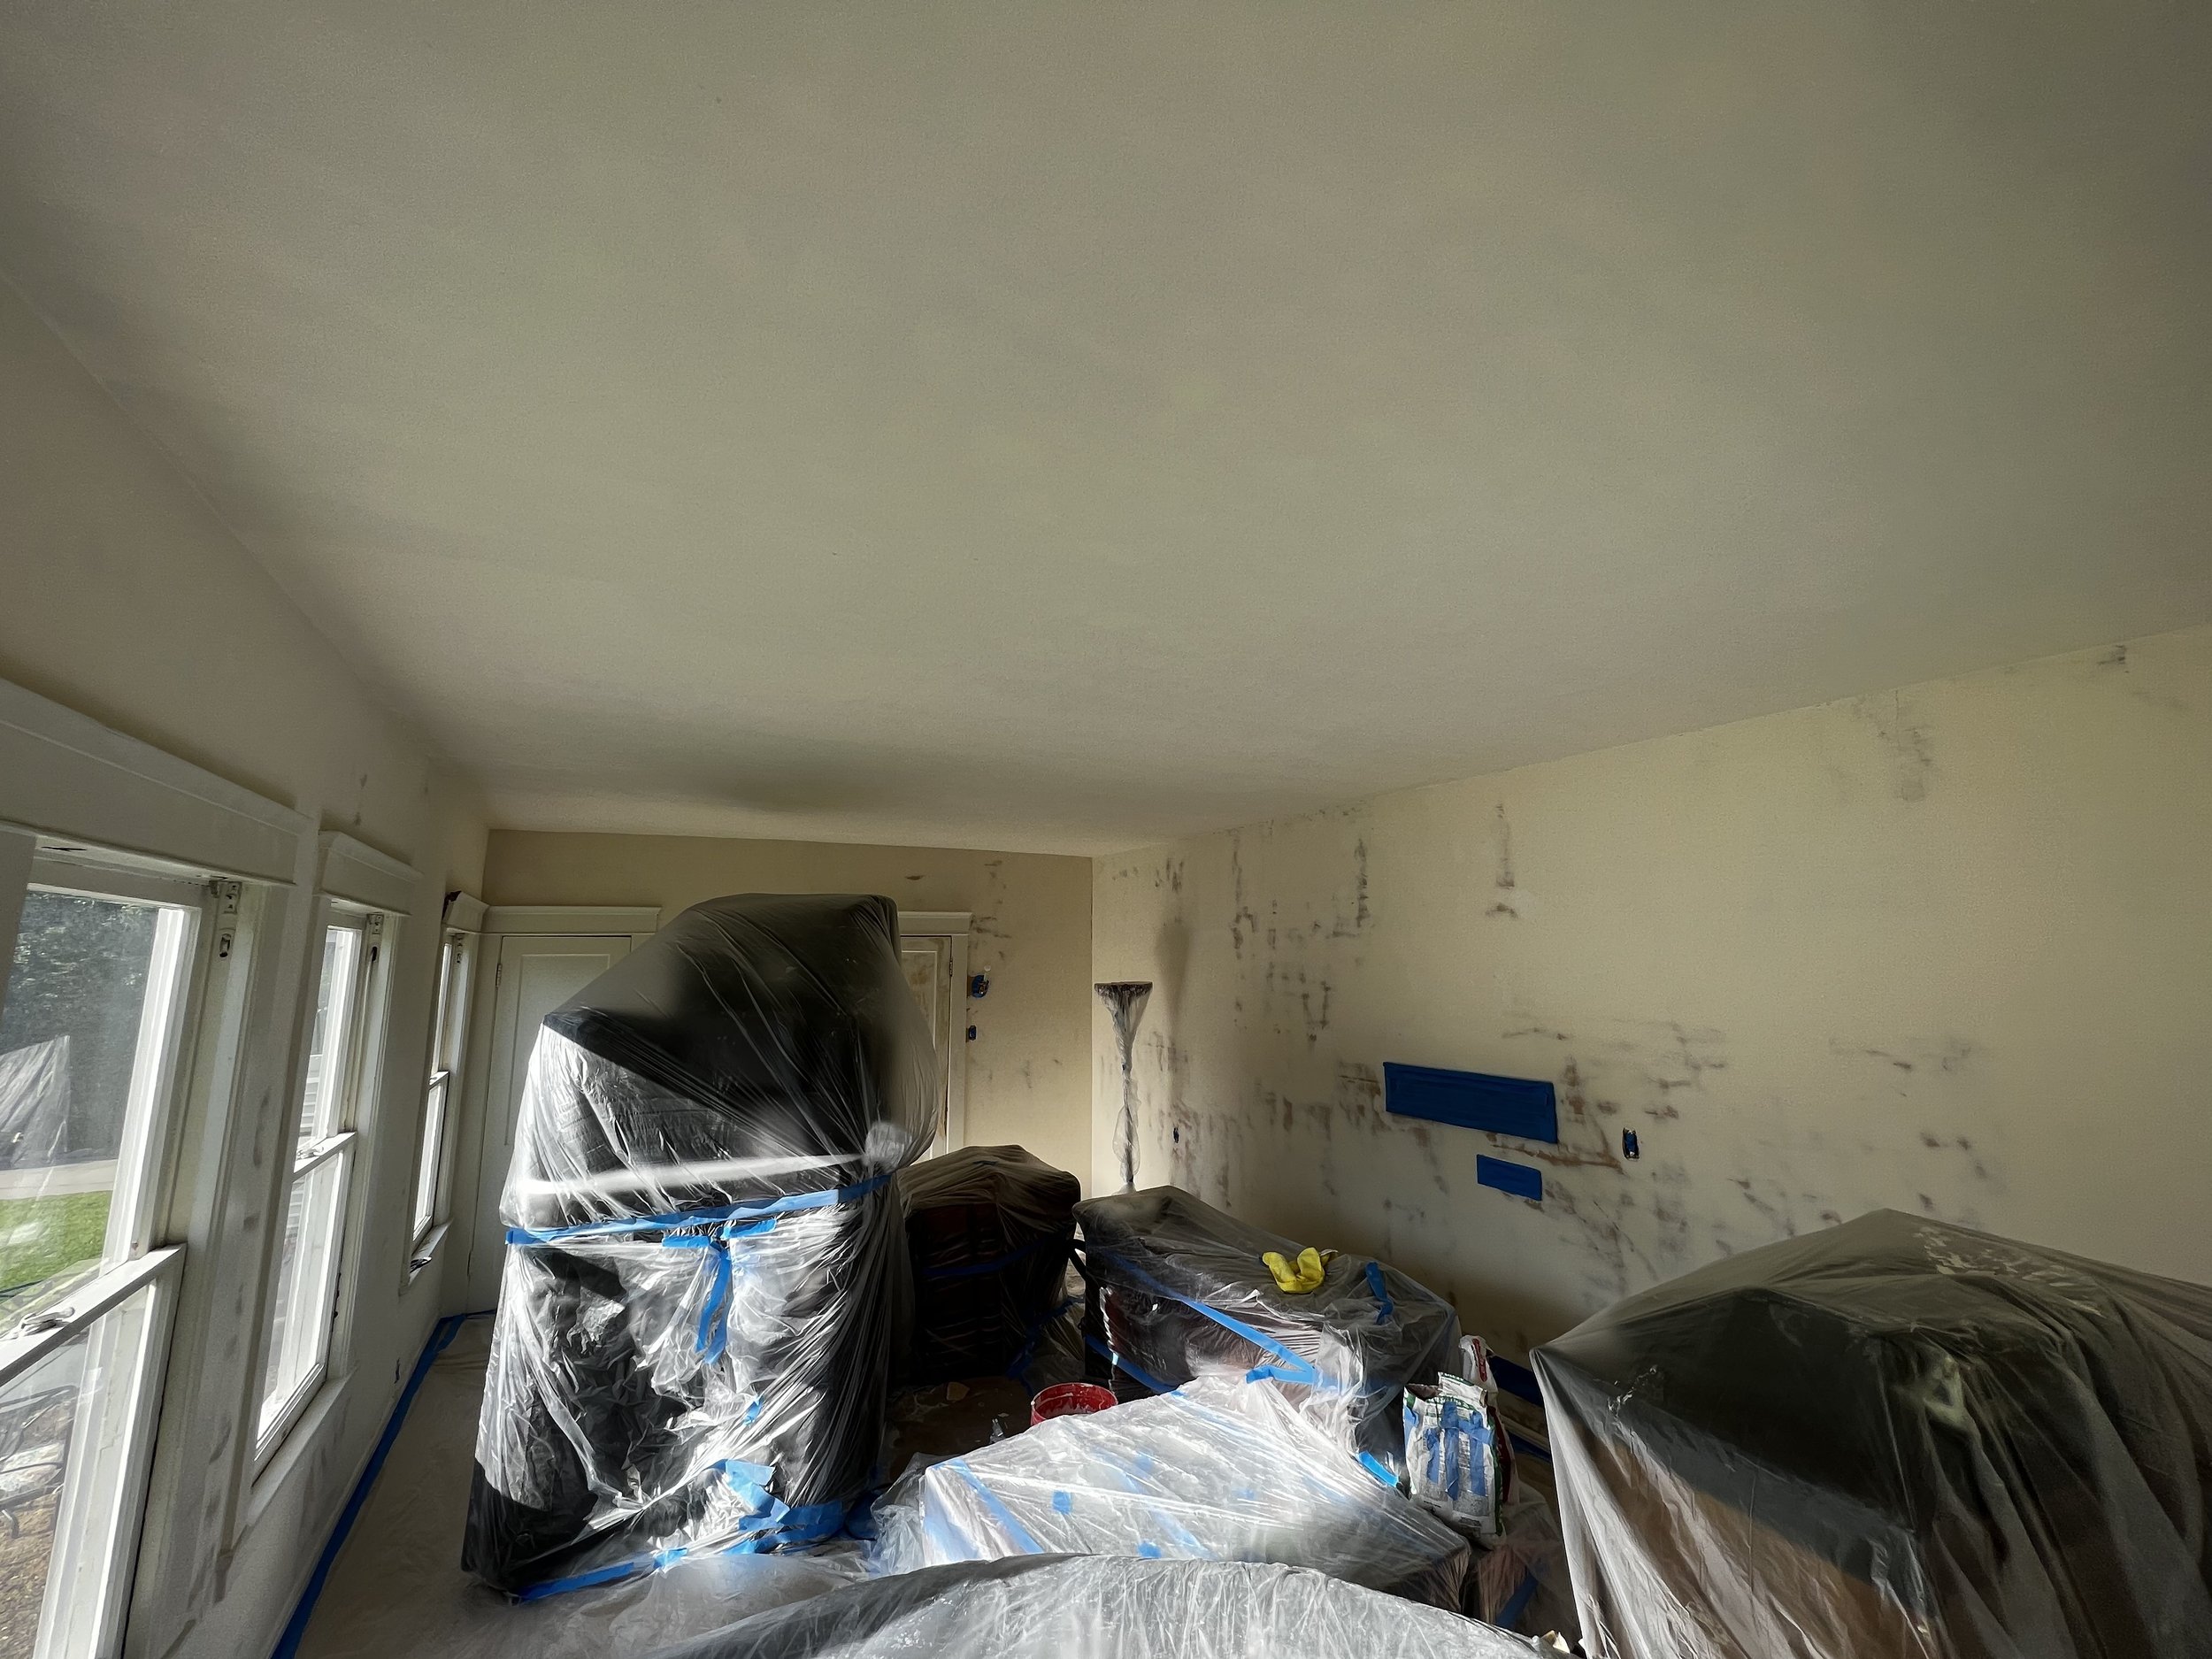
Masking and Taping
Protecting Adjacent Surfaces: Use painter’s tape to mask off areas you don’t want to paint, such as trim, baseboards, and ceilings. Make sure the tape is firmly pressed down to prevent paint from seeping underneath.
Drop Cloths: Lay down drop cloths to protect the floor and any furniture from paint splatters.
Final Inspection and Preparation
Evenness Check: Check the surface for any remaining uneven spots or imperfections. Sand and clean again if necessary.
Test Paint: If you’re using a new can of paint, stir it thoroughly and do a small test patch to ensure color consistency and adhesion.
Tools and Materials Needed
Fine-grit sandpaper (220-grit)
Sanding block or pole sander
Vacuum with brush attachment
Tack cloths or damp rags
Painter’s tape
Drop cloths
Spackle or filler
Putty knife
Primer (if necessary)
Paint stirrer
High-quality paintbrushes and rollers
Tips for Best Results
Work in Good Lighting: Proper lighting helps you see imperfections and ensures even coverage. Use natural light or bright work lights.
Climate Control: Paint in conditions with moderate temperature and humidity. Extreme temperatures or high humidity can affect paint drying and adhesion.
Stir Paint Thoroughly: Stir the paint thoroughly to ensure consistent color and texture. Use a paint stirrer and stir for at least a couple of minutes.
Test for Smoothness: Run your hand over the wall after sanding to ensure it feels smooth. Even minor rough spots can show through the final coat.
Proper Tape Removal: Remove painter’s tape while the paint is still slightly wet to prevent peeling. Pull it off at a 45-degree angle for clean lines.
By meticulously preparing the surface, you set the stage for a flawless final coat that enhances the beauty and durability of your paint job. Proper preparation not only ensures a smoother application but also helps the final coat adhere better and last longer, providing a professional-quality finish to your walls.
talk about the importance of letting paint dry before applying the next coat


